I know there are lots of tutorials for pinwheels out there but this is just what I came up with and I wanted it to be a little different than just the typical square type. Please note this is for a pinwheel that does not spin, that doesn't mean they aren't just as cute though. They still make super cute decorations, photo props and centerpieces.


So here we go.

Supplies:
- Pinwheel Template for a 4-inch pinwheel can be downloaded here
- Scrapbook paper or cardstock (double-sided is easiest)
- Rhinestones or buttons for center
- Hot Glue
First I'll show you how to make your own template just in case you need a bigger size or something.


First I'll show you how to make your own template just in case you need a bigger size or something.

You will need to cut your paper down to size, for this example they are 4-1/2 inches.

Fold your paper from one corner to the other to make a triangle. Leave folded, then fold the other two points to make a smaller triangle.
Unfold and you should have creases that go from one corner to the next.

Now take your ruler & pencil and from the center make a 1/2" mark on the crease line. Do this for all four creases.

Then in the lower left of each "triangle" make a mark about 1/8"-1/4" in from the point (see the note that says "hole.")

Once you have your marks, you are going to draw a whimsical-like pattern (aka squiggles) along the edges of the square. Be sure you stop at the 1/2" marks you made and go around the "hole" marks you made. You don't have to make squiggles around the crease lines if you don't want to, you could leave them straight, but I chose to make the whole thing with the squiggles. (I just liked the look better.)

Once you are happy with what you came up with start to cut out around the lines. If you don't make the squiggle lines around the crease lines, you would just cut straight along the creases.

This is what the pinwheel looks like after it has been all cut out. **If you download the template this is where you will jump in, just cut along the lines until you get to this point.

Now that you have a template just keep tracing on 4 1/2-inch square pieces of paper (if using the downloaded template use a 4-inch square piece of paper) until you have as many as you need.
Now onto the assembly of the pinwheel.

There is kind of an "A" and a "B" side to the paper. If you are using printed paper with a print on each side and you don't care which side is mostly seen no worries keep going. However, if do you have a one-sided print (like most of mine were) you will want to use the printed side as side "A" and the plain side as side "B". *Also note, that I punched small holes where we put marks in corners. For this type of pinwheels holes are NOT necessary, it is used more of a visual aid here. A pencil mark is sufficient for the proceeding steps. *

Add a dab of hot glue to the center of the pinwheel (on the side "A" side).

Pull up marked corner to the center to set in the hot glue.

Continue with the rest of the marked corners. Be sure to add a dab of the hot glue each time before you pull up the corner.
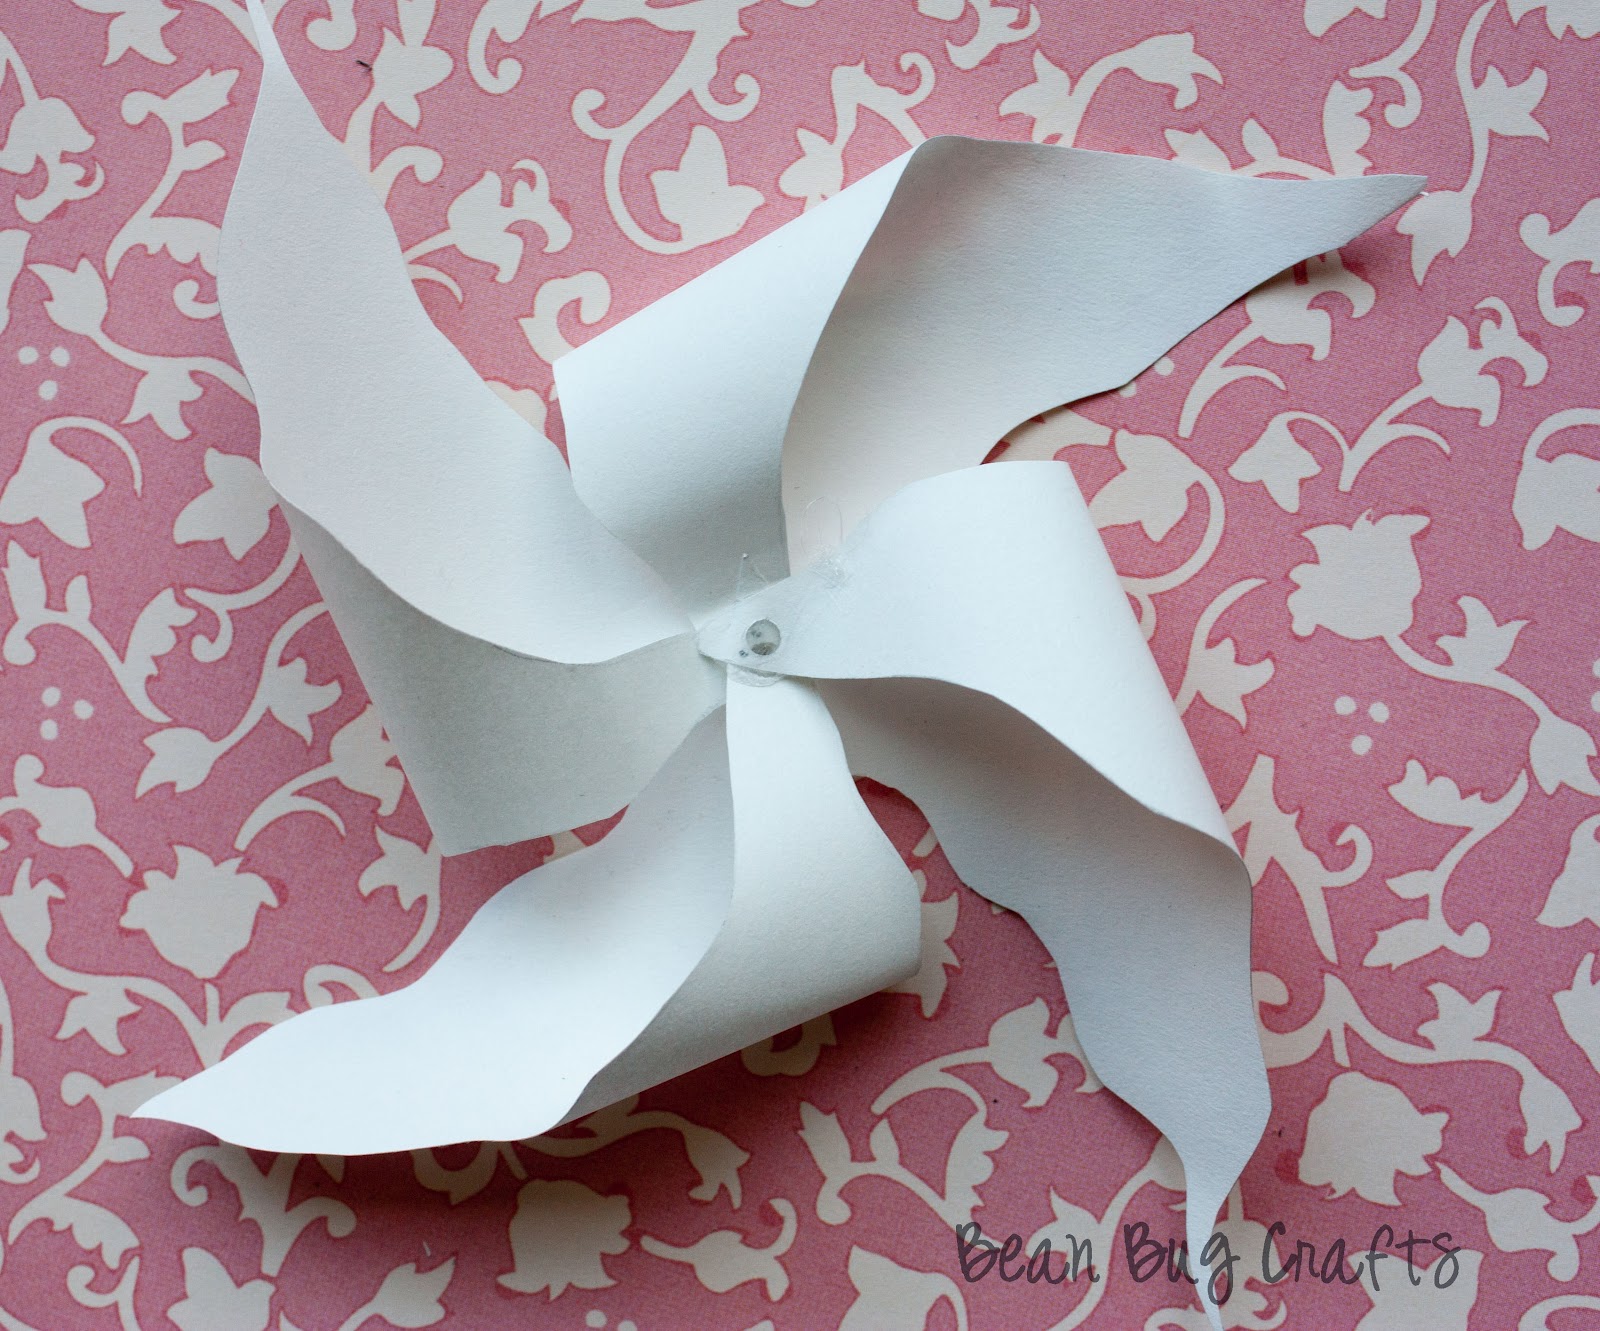
This is what it looks like with all the corners set in the center.

Now embellish how you like. I added fabric flowers with a rhinestone in the center of these.

They really were A LOT of fun to make and they just made the decorations a little more fun!
Be sure to stop by the other posts for the Dr. Seuss Theme Open House:

**As always, any of my templates can be used for personal or commercial use. I just ask for credit or a link back. Thanks!
Sometimes I link up at these great parties:

Thank you so much for this post. I want to let you know that I posted a link to your blog in Creative Busy Bee Craft Inspirations, under the Page 2 post on Sep. 06, 2012. Thanks again.
ReplyDeleteHow cute! Thanks for sharing :)
ReplyDeleteHow cute! Thanks for sharing :)
ReplyDelete