
*Before you read, please just know that this was one of those posts that no matter how much I proofed it and re-read it, it was all just words. I had a little "help" while typing this up. So if you have any questions or something isn't' quite clear, just let me know. Thanks!*
I thought I would share with you how I stamped the image that I used on the Teacher Appreciation Gift I shared with you all last week.

I'm sure this technique isn't something new to some of you and there may even be an easier way, but this is the technique I use. I'll throw a little disclaimer out there, I'm definitely not a stamping expert...Gasp. But I do love the way it looks on cards, scrapbook pages and other crafty projects and I do what I can with the stamps that I have ;-)
Stamping can be kind of overwhelming to some and, like most crafts, can get expensive. You shouldn't let it overwhelm you, just do what you can do even if that means you stamp a simple image with black ink. That is PERFECT for sentiments on cards!
If expense is a factor check out your craft store's "Dollar Bins." A lot of times they will have ink pads and stamp images for $1. And it is a great way for you to see if you are really going to like stamping or just want to use it occasionally.
I should also tell you that if you don't have any stamps or inks you can always purchase "digital stamps"or google "free clipart" The work is already done for you and you can use the image over and over. (Always check the Terms Of Use (TOU), especially if you are wanting to use the image for commercial use.)
There is a lot more that can be said of stamping and getting started. You can google or check YouTube for tutorials.
Sorry for the little info lesson, hopefully it will help someone. Now on to the fun stuff.

Supplies:
Inks: I used red, green, and black-the smaller inks are from the dollar bin
Stamp: The "Inspire" stamp is from the dollar bin
Tape: I used clear transparency tape so I can see through it to line up the stamp
Cardstock

Line your stamp up on your clear block.
I'm going to stamp the words (sentiment) in black first so I applied the tape to cover all the parts of the apple.

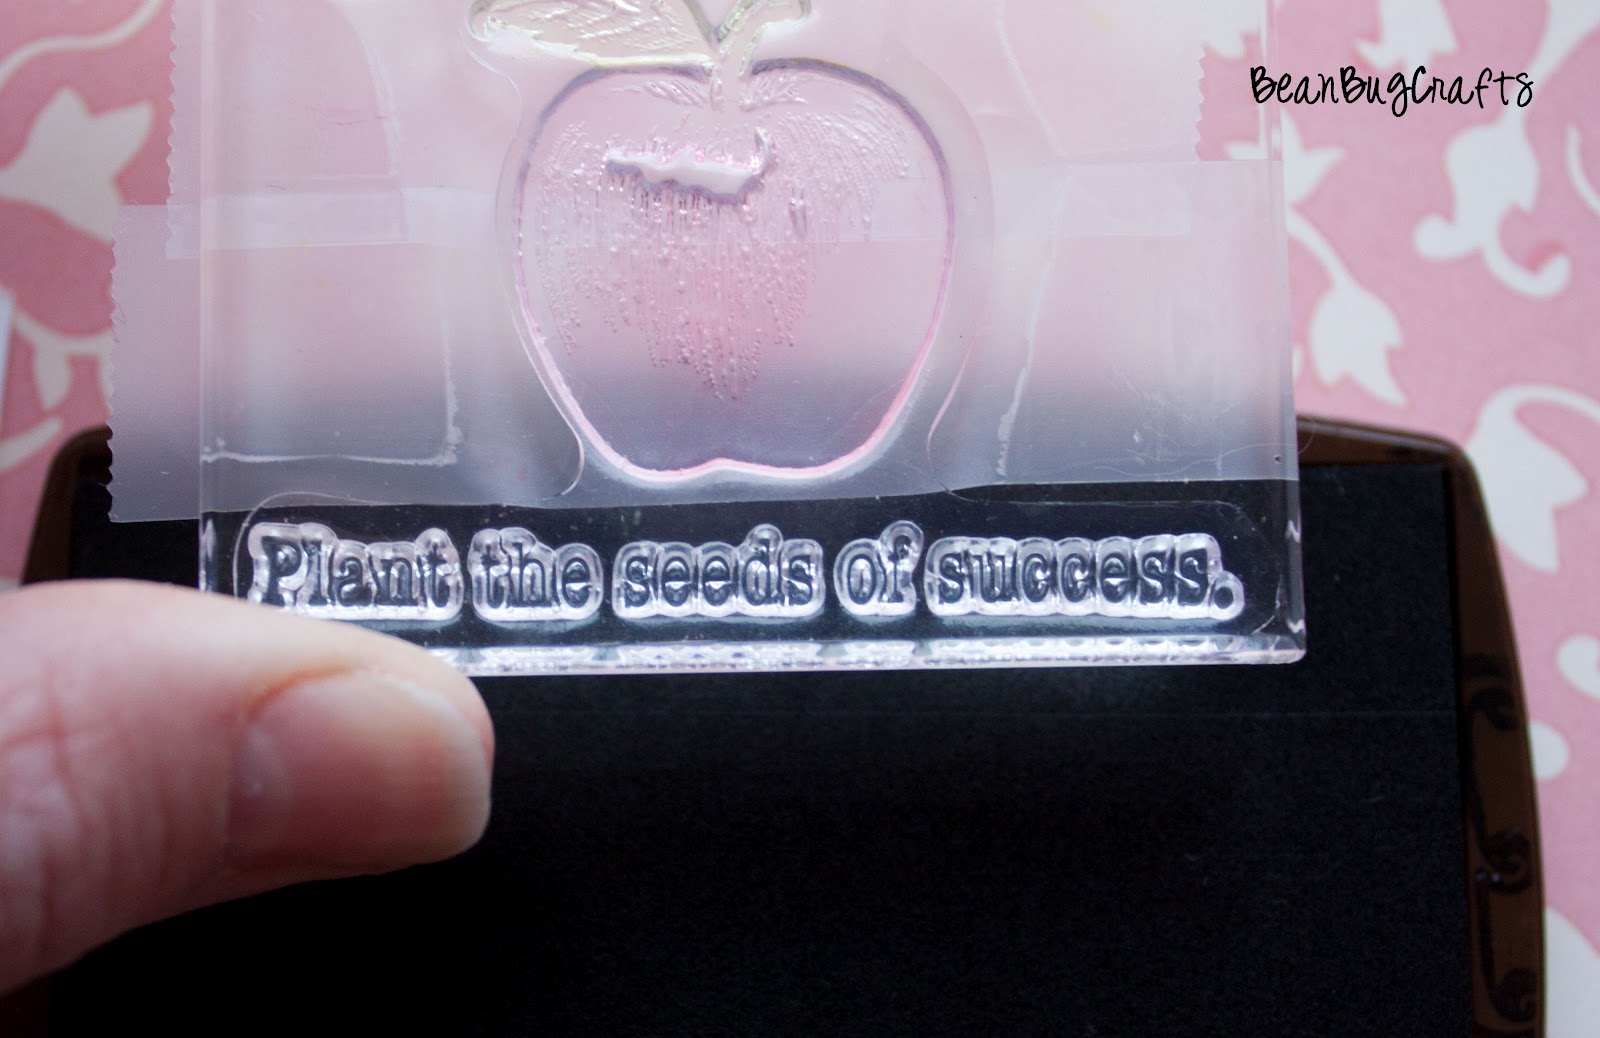
Ink your stamp. I placed my stamp into the ink pad trying to get as little black on the stamp as I could.

Then use a baby wipe to wipe up any areas that aren't supposed to be stamped.
The image on the left shows where I got a little messy inking.
The image on the right shows it all "cleaned" up and ready to stamp the sentiment.

Now you can stamp your image. When working with clear stamps that have little letters (like the bottom row) be careful to not "smoosh" them when stamping. If you "smoosh" it the words may show up a bit blurry, you'll see in the example below.

Once you stamp the black sentiment, clean your stamp off with a baby wipe.
Now you are ready to stamp the red for the apple. Cover the sentiment, the leaf and stem with tape
(Make sure stamp is dry from cleaning it with the baby wipe, it won't stick if it's wet :-) )
Repeat the steps of inking and cleaning as previously mentioned above.

When you stamp the apple, you will want to make sure that it lines up correctly.
Place the stamp on top of the stamped image. Now Stamp away!

For the leaf, you will repeat the same process.
Clean the stamp with a baby wipe, allow to dry.
Tape over sentiment and apple leaving only the leaf and stem portion untaped.

Then line the stamp up the same way as mentioned before
(this time you will also have the apple as your guide.)
Stamp away, and Ta-da, you have your stamped image!

You can do a couple of more steps to get more of a dimensional step.

Using the steps mentioned above, go ahead and stamp just the apple image.

Then using your scissors "fussy cut" your image. Or cut your image out as close the image as possible.

Then apply 3-D foam dots or squares to the back of the image.
Yes, you see a piece of tape on the back. No, it's not part of the technique.
That's just what happens when you are trying to "fussy cut" and keep an eye on your two-year old ;-)
Stick the cut apple image directly onto the apple of the first stamped image and there you go.

This is an example of how I used the dimensional stamped image. I stamped the image on kraft paper, then just added a red mat and some green ribbon to the apple stem to give it even more dimension.
Hope you enjoyed the tutorial! I would love to know if this helped or if you have any tips or questions for me!


Featured At:
.jpg)


