Monday, November 14, 2011

Tuesday Tutorial: Guest Blogger No-Sew Pin Cushion


Hello Everyone! I'm so excited to be guest posting here at BeanBug Crafts!


My name is Justine and I'm the girl behind Kerr-afty Creations!
I started blogging about a year and a half ago with the intention of sharing creativity and inspiring others (I also have a very crafty mom who lives a few hours away so this was a way to show her all my projects, haha).
In 'real life' I am a stay at home mom. I have a two year old and a five month old, both girls. So it is really nice to have some me-time in my craft room here and there. (then I can usually find a few minutes during Dora the Explorer to type up my posts!) I would love for you to stop by my blog and say hello. Now on to the tutorial:

Today I will be showing you how to make an easy No-sew Pin Cushion.


Supplies you will need:
- a frame (small or large...the one I used is approx. for a 2 inch by 3 inch picture)
- fabric
- polyester fluff
- scissors and gluegun


First take out the glass from the frame (in my case it was a cheap frame so I had to cut out plastic). Most frames come with a paper inside showing the size of picture to use, take this piece and cut out a piece of thin cardboard the same size and then cut your fabric slightly larger.


If you are using a circle/oval frame cut small slits along the outside of your fabric piece, with square/rectangle frames cut slits at the corners. Start to hot glue the fabric onto your cardboard piece gathering as you go, make sure not to pull tight leave the front slack.


Leave an opening at one end and stuff with the fluff.


Finish gluing around the cardboard.


Turn over and you should have a little pillow.


Hot glue around the inside of your frame
and quickly place the 'pillow' into the frame before the glue cools.


Replace the backing.
There you have it.... a quick, cute and handmade pin cushion!
Perfect stocking stuffer for those crafters on your list!


I happened to stuff my cushion too much so my backing didn't close all the way...but nobody really looks back there, right?

Thanks Anna for having me, it was so much fun to create a tutorial for your Tutorial Tuesday!!


Thursday, November 10, 2011

Freebie Friday: Jamie's Jems

**GIVEAWAY CLOSED**
Well today is our First Giveaway on BeanBugCrafts! Aren't you excited?!?! I know I am! And I'm excited to tell you our first Giveaway Sponsor is Jamie's Jems.


I have known Jamie since Junior High and was recently reconnected with her through Facebook (don't you love Facebook for that)? Anyhow, she does an AMAZING job at crocheting (jewelry making & accessories) and I love everything I have seen her do. Apparently her fans do to because she is one busy, crocheting machine!


These are just a few of the many, many hat and other crochet selections she has on her Facebook FanPage.

If you are photographer looking for photo props, she can even hook you up with that. Here is a sampling of what she has. Check out her photo props album to see different ways you can use these as well as some of the other cute props she has.

****GIVEAWAY CLOSED****
Freebie Time!
Now that you have seen a sampling of what Jamie has to offer wouldn't you like to have one of her super cute hats? Well she will graciously be giving away one hat of your choice (pick from her photos) to one lucky BeanBugCrafts Blog reader! 

So now for the rules (because there always are):

1. Like Jamie's Jems Facebook Fanpage leave a comment on her Fanpage That "BeanBugCrafts Blog" sent you, then come back here and let me know you liked her page. This is the Mandatory Entry.

2. Become a Follower of BeanBugCrafts (Right Side Bar) and leave a comment that you did so. If you are already a follower leave a comment that you already follow. This is an additional entry.

3. Like the BeanBugCrafts Facebook Fanpage and leave a comment here on the blog that you are now a new Facebook Fan or that you already are a fan. This is an additional entry. 

This is a blog giveaway so comments on the Facebook Fanpages don't count, but we still like hearing from you! :-) If you aren't familiar with blogs or comfortable having your name displayed you can always follow and enter anonymously. 

Only US shipping. Winner will be selected via Random.org. Contest will be over Friday, November 18th at 10:00pm (Alaska STD). The winner will have 48 hours to respond or I will chose another winner. Thanks and Good Luck!

****GIVEAWAY CLOSED****

Monday, November 7, 2011

Tuesday Tutorial: Guest Blogger Glitter Ornaments

Glitter Ornaments

Hi, I am Jessica from Mom 4 Real!  I am so excited to be guest posting here @ Bean Bug Crafts today.  I am a ridiculously happy married mom to a 13 year old boy and 8 year old girl.  Mom 4 Real is a blog with a little bit of everything.  I share family advice, kitchen tutorials, crafts, and recipes.  Today, I am going to share a craft that we did last Christmas.  It turned out so well, that we decided to do it again this year, and share it with you...


These DIY glitter ornaments are so simple and inexpensive, that we have decided to make them for teachers, family members, and friends as gifts.  All you need is an inexpensive pack of glass ornaments (you can buy them at any store now), a bottle of floor wax (Pledge or Bona work best), a small funnel, and glitter. 


Take the top off of your ornament.


Pour floor waxy into ornament and swish around so it coats the entire ornament.
Pour out the wax once you have coated the inside.


Insert the funnel into the top of the ornament and pour in quite a bit of glitter.


Shake the ornament until the glitter coats the inside.
Pour excess glitter back into container...it takes a surprisingly
little amount, so you will get a lot of glitter back.


Here is what your ornament should look like when you are finished.


We made all different colors.


I especially love green, so this is my favorite!


You can hang them with ribbon or hooks, but I think ribbon looks especially pretty.

These were super easy to make, and not too messy.  I would cover whatever surface you are making them on with a vinyl tablecloth or wax paper, because the floor wax will harden on your table...I learned my lesson last year.  We made ours outside this year to avoid making that mistake again.  You can easily decorate the outsides of the ornaments with markers or vinyl letters!  Merry Christmas and happy crafting!

Monday, Monday

Well, It is definitely Monday! I hope everyone had a good, productive weekend? Ours had a very slow start in the productivity department. My 'lil guy got some sort of stomach bug and was just sicky sick. I hate it when they are sick, it's really hard to do anything for them. I'm so glad he is doing much better, but I think we will be chillin' a bit while he rests up.

We got a ton of snow yesterday & today, which is just BEAUTIFUL! I'm loving it and it is totally making me want to craft all kinds of Christmas stuff!  I have a craft fair (my first one), that I'm busy getting ready for, but then I'm hoping to be able to get some new stuff in my Etsy shop for Christmas.

View of the the deck full of snow from my back door.

The little guys cabin all covered in snow. 

I was able to get our grocery shopping done yesterday and when I came home, my dearest most wonderful hubby had started to put up the Christmas Decorations for me!!! I was so surprised, it literally took my breath away! I can't wait until we get it all done. I have always loved Christmas, but it seems even more fun with little ones.
I love, love snowmen. These are just a few of my oldest, favorite ones!

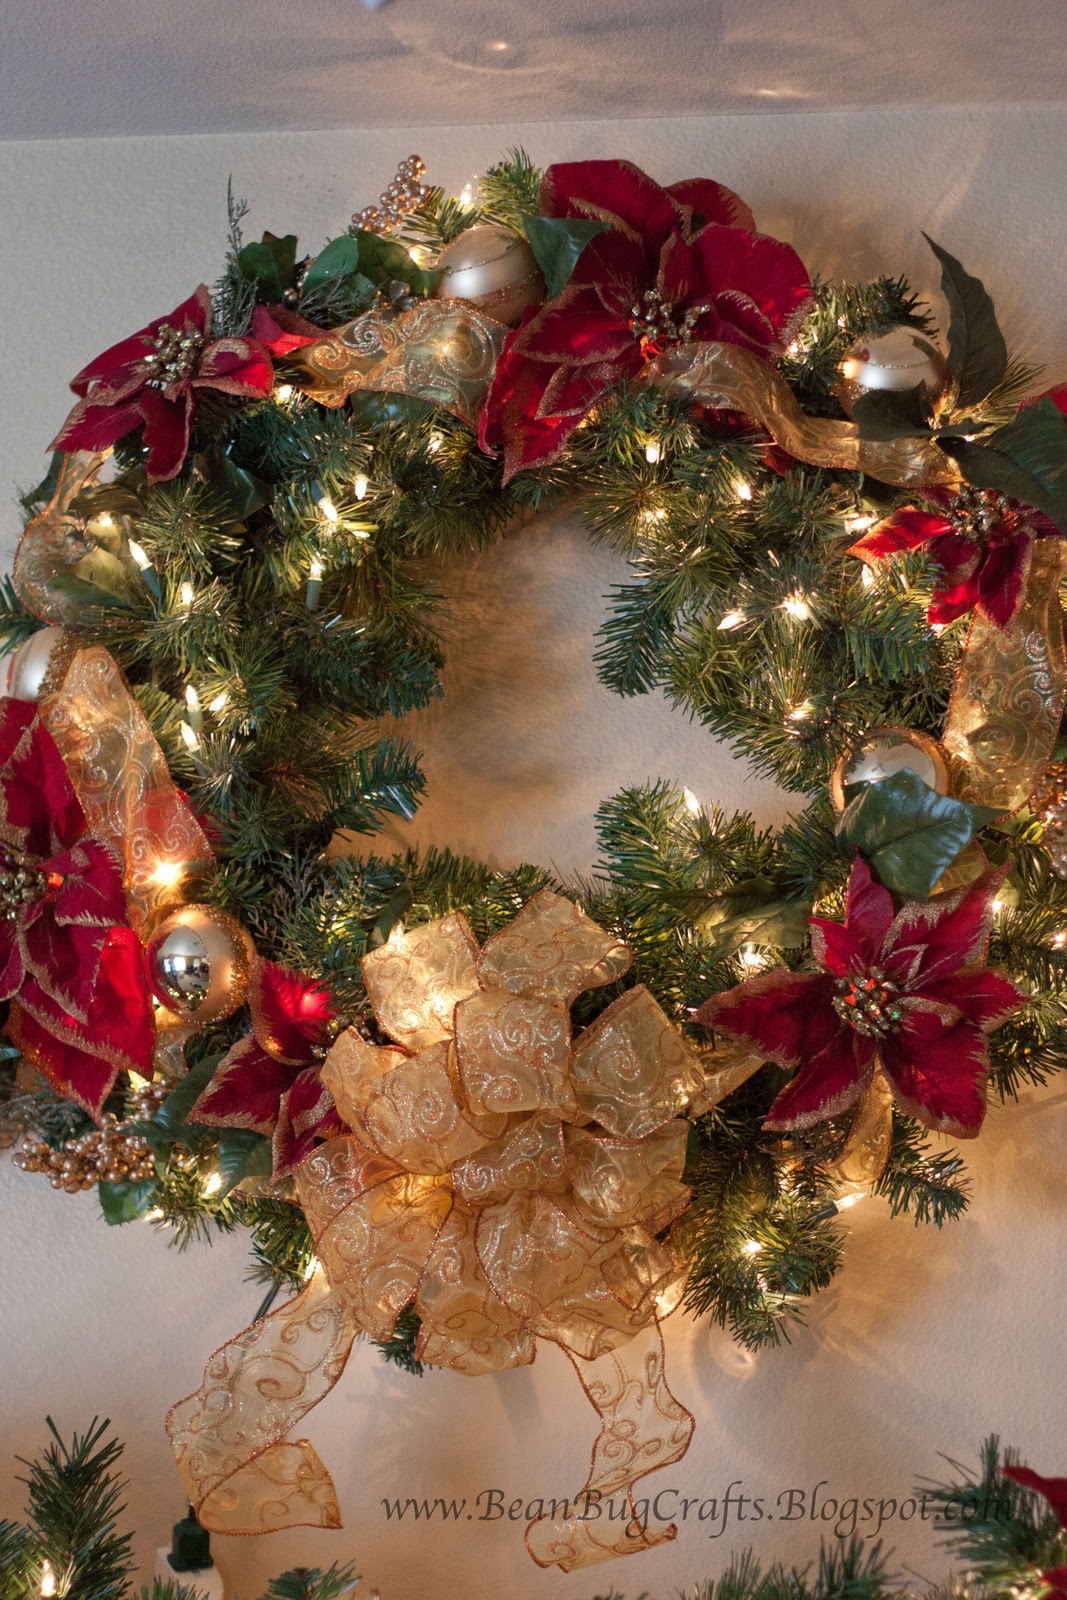
And the wreath above our fireplace. 

This is a picture of my little guy last year. He was just discovering everything and LOVED the lights. He talked about all the lights until March!

Okay, before I go I have some fun, exciting news for BeanBugCrafts Blog readers! Are you ready? We are going to have guest bloggers help us out with "Tutorial Tuesday" from now through Christmas! I am so excited to see what these great bloggers will have to share with us! And...drumroll please... I am working with some great people to bring us our first giveaway(s) on the blog, "Freebie Fridays!" The giveaway, with all the details, will be posted on Friday and the following Friday the winner will be announced! So have you noticed the blogs sidebars looking a little different? I'm making room for our wonderful sponsors who will be helping to make these events possible so be sure and go check out their pages and/or shops!

Stay tuned for more details, and if you aren't already a subscriber be sure to subscribe to my blog and like my Facebook Fanpage so you don't miss out on either of these great events going on throughout the holiday season!

If you would like to be a sponsor for either "Tutorial Tuesday" or "Freebie Friday" please email me, I would love to hear what you have to offer!

Thursday, November 3, 2011

Tuesday (Thursday) Tutorial: Halloween Mini Accordian Album

Sorry the tutorial is late this week. I've had two sick little ones and a Halloween party and well, I'm just tired. (And I have to apologize for the quality of the pics it was late and no natural light left, so please ignore the darkness and shadows.)

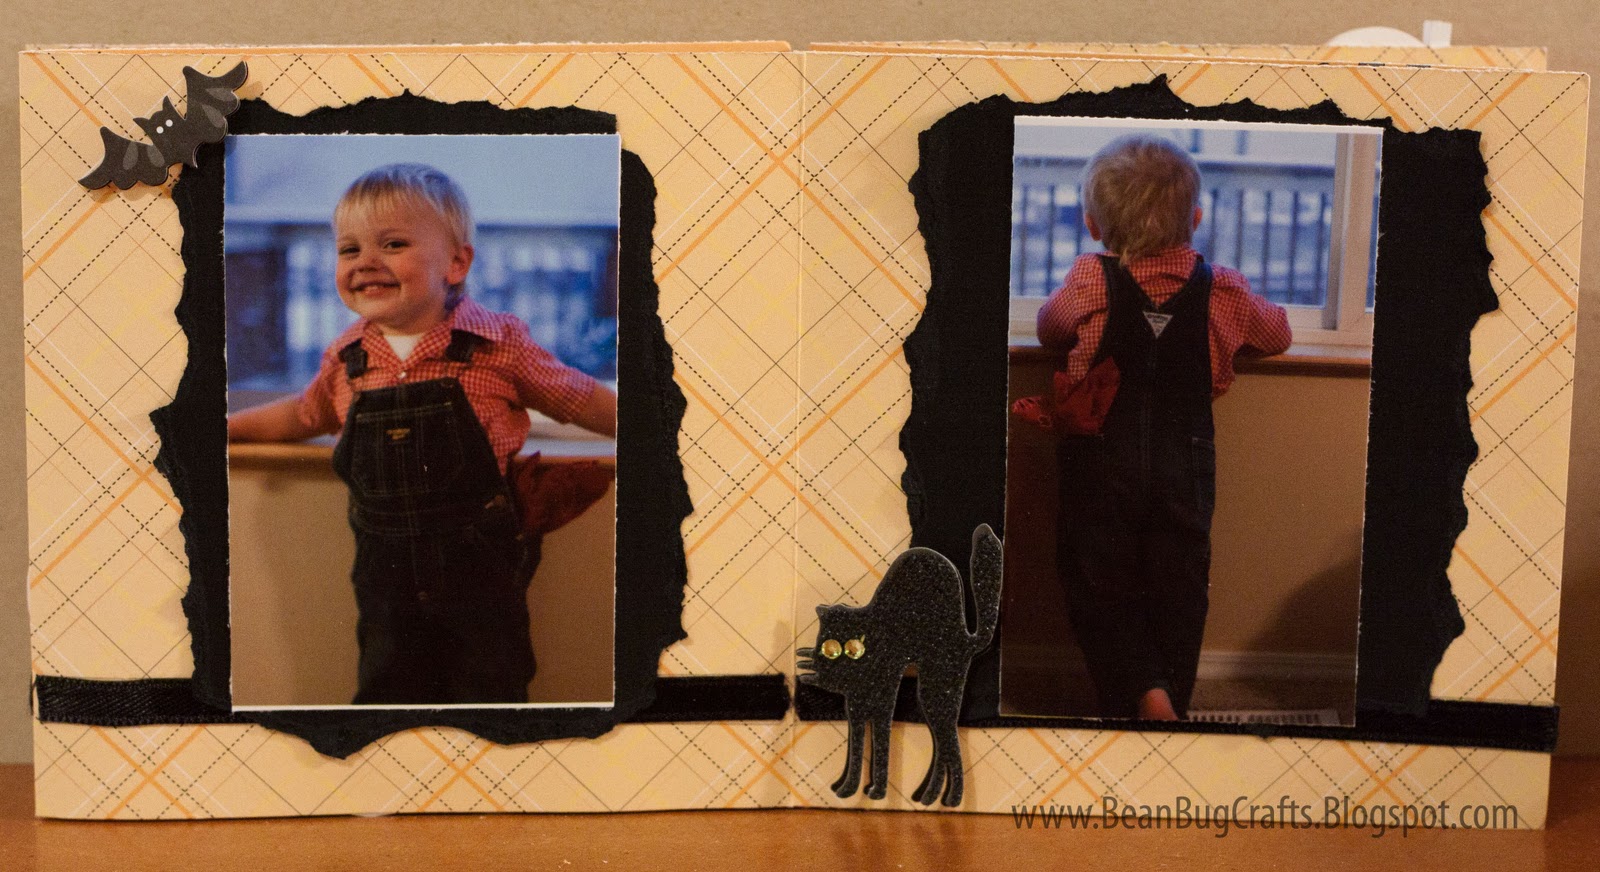
And I know Halloween is over and I'm sure you are tired of hearing of Halloween, but I wanted to show you this cute tutorial I found and show you how I turned it into a cute Halloween Mini Accordion Album-BeanBugCrafts style :-)  So now that Halloween is over and you have those adorable pictures of your little ones you will have somewhere to display them and show them off!


I'm not going to re-write the tutorial they did all that work here. So be sure you go there to get the actual directions.

Supplies Needed: 1-12x12 Sheet of paper; paper for matting photos; embellishments that you will want to use: ribbon, paper, stickers, etc; ribbon for tying your album together and of course your cute pics. I used photos approximately the same size as a wallet (slightly smaller),  but you can crop down a 4x6 photo to the desired size.

I used two-sided Halloween pattern paper so I could have my son's pictures on one side and my daughters on the other side. (Heidi Grace Designs "Jeepers Creepers"-which apparently is no longer available because I could not find it online anywhere. I know that I did purchase it at Jo-Anns this year, so you can check there.) The black cardstock is Bazzil cardstock and the Halloween Dimensional stickers are by K&Company "Happy Halloween" & "Spooky Halloween".

Attach the title "Halloween 2011"to a piece of black cardstock then attach to the front cover. I started out using adhesive, but decided I wanted to use 3-D foam adhesive to add dimension. I printed the title  in PhotoShop Elements using the font Cracked (Sorry I can't remember the font size).

Tear your matting cardstock to the desired size. I made my mats slightly bigger than the photos. I just eyeballed it, no exact measurements here.I then attached ribbon to each of the pages using sticky tape, you can use regular adhesive too.

Now attach your photos. I also printed their name and age  n PhotoShop Elements using the font Cracked (and again, I can't remember the font size).

You can add as many embellishments as you want. I decided to leave mine simple this year *gasp* but I need to move on to other projects and I'm just happy to have these pictures "scrapbooked"  I couldn't do it, I had to add embellishments! I couldn't just leave it with just ribbon, I just couldn't!!! :-)

And now the rest of the pages:


I hope everyone had a wonderful Halloween. Let me know what you think, I would love to hear from you!


Be sure and check out all the other fun things eighteen25 has to offer!


This tutorial was Featured!!! DearCreatives


This post will be linked up at these parties:
DearCreatives


http://www.houseofhepworths.com/2011/11/02/hookin-up-with-hoh-73/


The ArtsyGirl Connection: Pin'Inspirational Thursdays {Linky Party Day}


shabby creek cottage

Somewhat Simple


Photobucket
Related Posts Plugin for WordPress, Blogger...